I want to become a society lady Rockin' a new rock?!

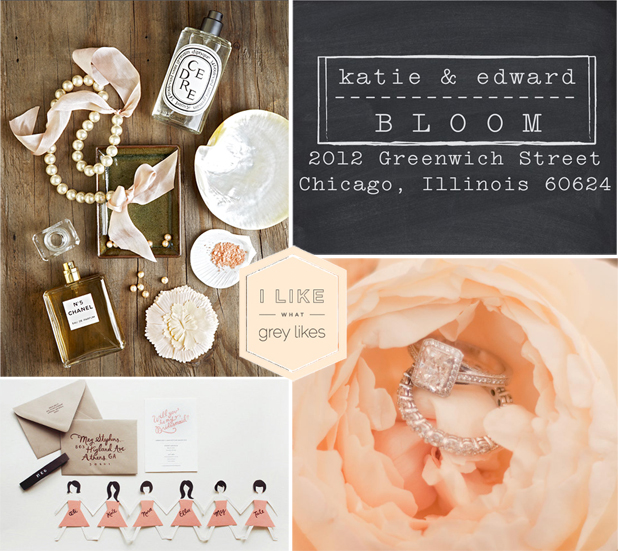
We’re getting started today with some really great finds from around the web. For starters (at the top left) is an image by Joseph De Leo Photography who shot the images from the newly released book, Handmade Weddings by stylist Shana Faust and the ladies of Hello Lucky. One of my favorite blogs, 100 Layer Cake, is offering a giveaway for the book, along with a discount, so go check it out. Also, I’m absolutely obsessed with stamps (top right) and it can’t get any better than these self-inking ones available here by Note Trunk. This stamp would make thank you notes so much easier! Once Wed featured this DIY project (bottom left) a few months back, so if you are planning on inviting your bridal party soon, consider these cuties designed by Anna of Rifle Paper Co. The ring shot is one of my all time faves by Elle Photography.

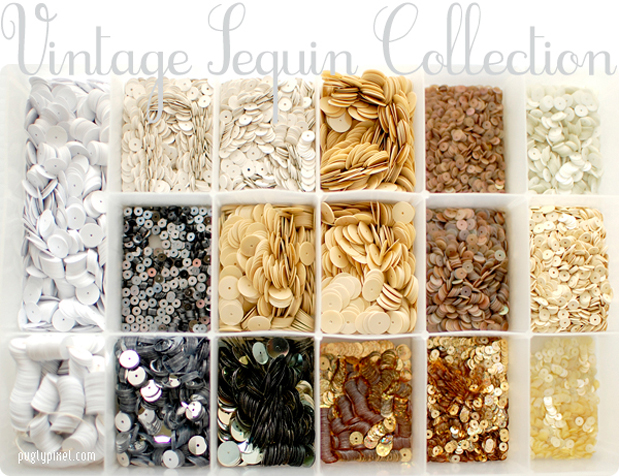
Also, I can’t resist this collection of vintage sequin photographs over on Blog Stock. Loving it.

There’s a lot more pretty coming at you today. I’ve got a gorgeous ocean view wedding for you so get ready.

We like
our sponsors

We think you will too.

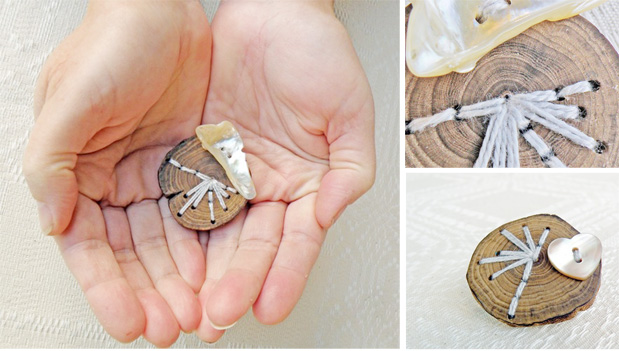
I spied these brooches on Etsy and thought they would make a wonderfully creative boutonniere for grooms who just can’t do with a rose. These creative creations made of wood, thread and buttons are by PB Button Art and Accessories. Wouldn’t they also make such a unique keepsake after the wedding?

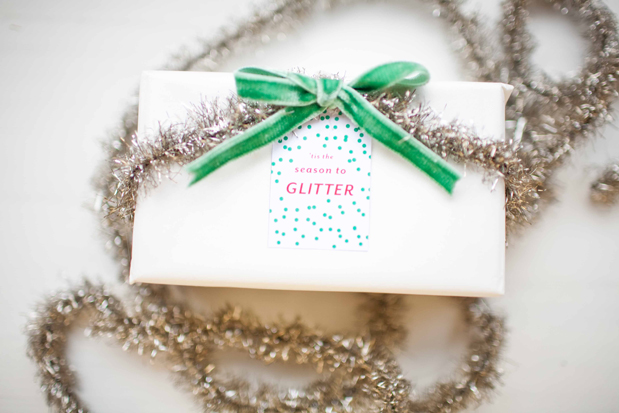
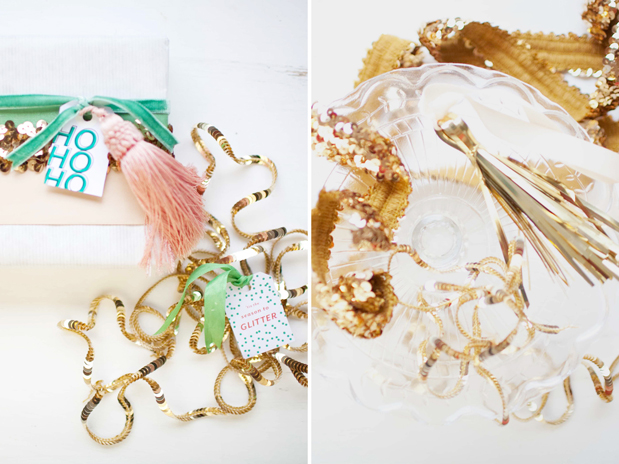
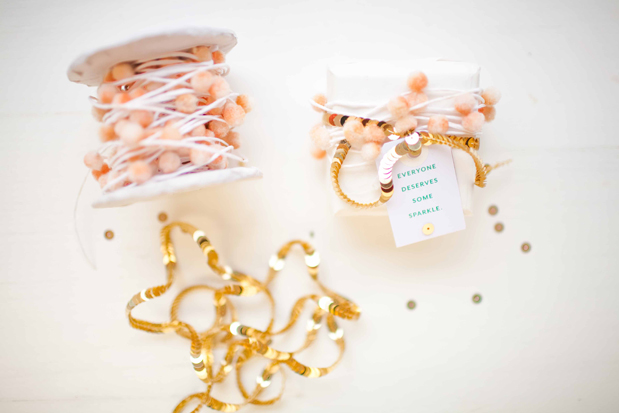
Happy Tuesday! We’re just a few days away from Christmas and it’s really starting to feel like the holidays (particularly because wrapping paper, ribbon, and itty bitty scraps of miscellaneous shavings are strewn throughout my living room). If you are planning on spending the next few days up to your ears in gift wrap, then I’ve got a little inspiration for you! Supplies were easy to come by…tissue paper, material, ribbon, and this year’s star of the show: sequin trim. My dear friend Megan from MaeMae Paperie designed all of the custom tags and has so graciously provided a downloadable pdf of the tags, so you can partake with us!

My sister Hayley of T&H Photography drove across the county in pouring rain to shoot these gorgeous images while I styled away–we had a blast oggling over sequins all afternoon.

We’re all about the glitter this year! Hope you love it!

Click to expand for more

Tassels are a really fun variation on the traditional bow! Here’s a little step by step for making your own tassel out of tinsel.

Just remember–beautiful wrapping is two gifts in one. A little extra effort goes a long way for those special gifts!

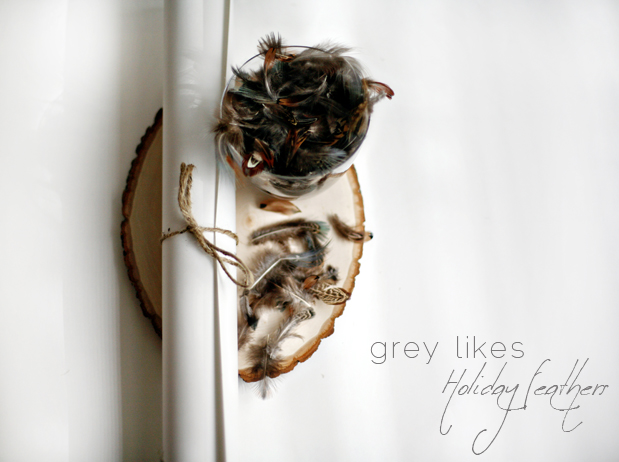
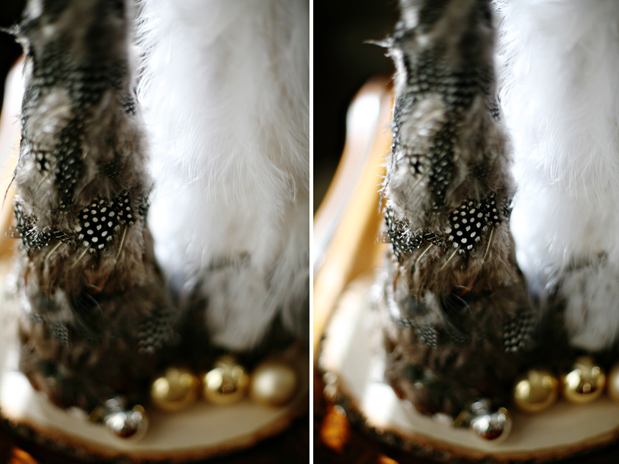
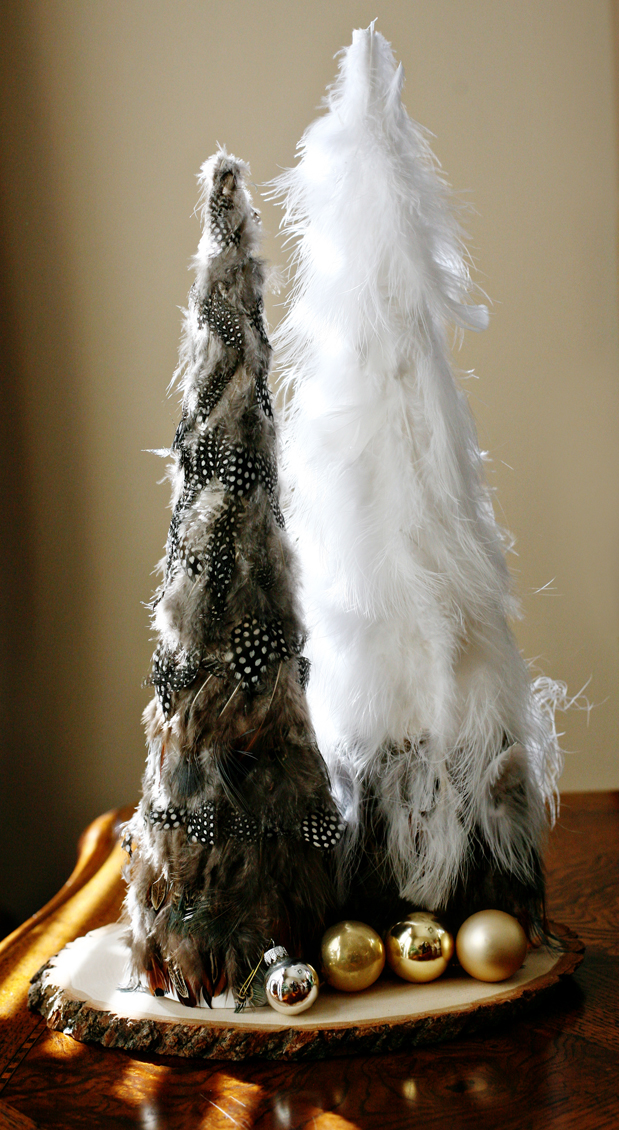
I seriously have the best interns. Ever. Heather and Lauren have put together another darling DIY that I’m so excited to share. This simple project involves little more than glue, feathers and some paper. The result, however, is both rustic and charming! What a great way to whip something together for some holiday cocktail centerpieces or winter decor…be it for your wedding or your home! Little details like the unfinished wood plaque and shiny gold ornaments add a little sparkle and a little nature–which ties it all together!

Pretty sure my weekend will involve crafting! Hope you enjoy!

Click to expand for more

Holiday Feather Trees

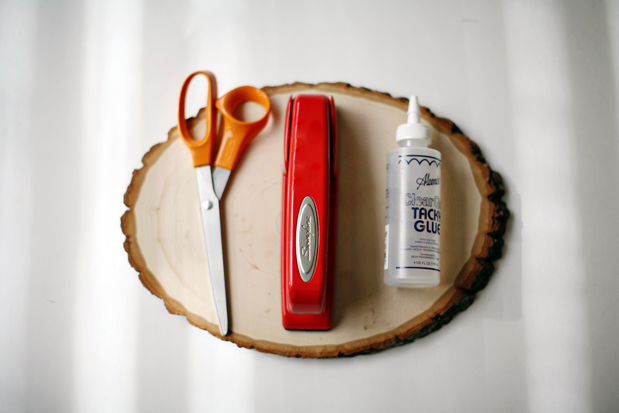
What you need:

White poster board
Feathers
Scissors
Stapler
Craft Glue

Instructions:

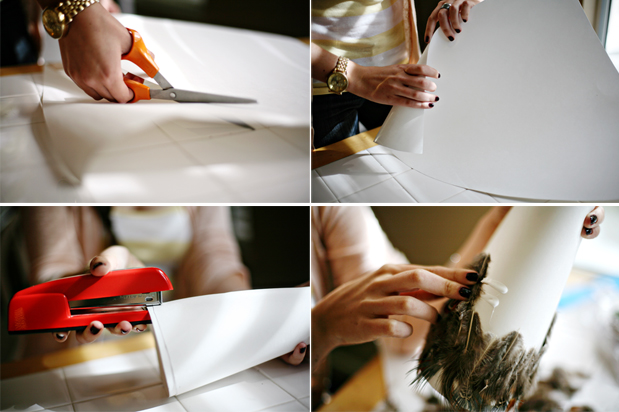
1) Cut your poster board so it is shaped like a square.
2) Cut diagonally from corner to corner, gradually curving downward as you meet the other end. The end result should look like a triangle with a curved bottom.
3) Roll the triangle to create a cone shape and staple the bottom so it can securely stand on its own. You can adjust the poster board to create different sizes.
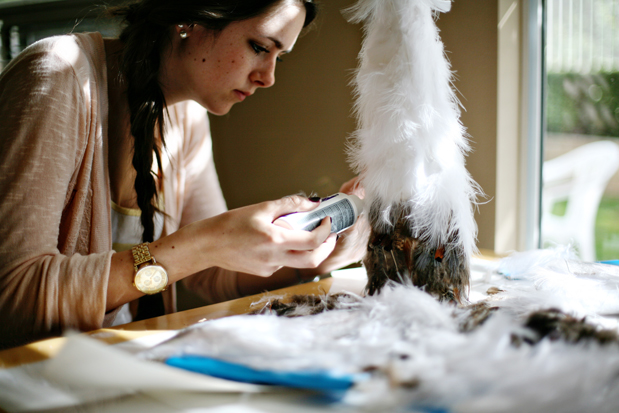
4) Starting at the base, begin to glue on the feathers row by row. Continue until you have reached the peak of your cone. Vuala! You have a Feather Christmas Tree! Enjoy!

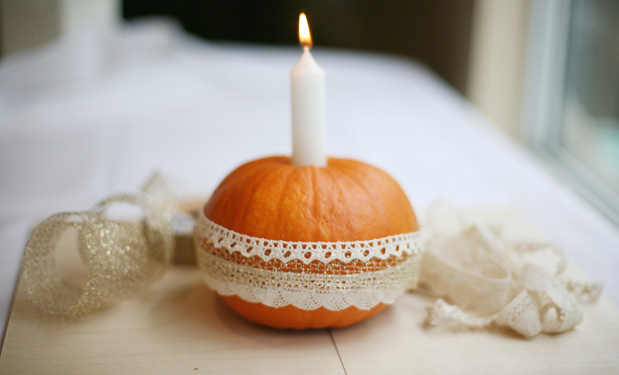
Just in time for Thanksgiving on Thursday, we’ve got a great DIY project that’s as cute as it is simple! My fabulous interns, Lauren Gilmore and Heather Kasparian created the idea and produced this shoot and I’m so excited to share their first project with you!

Click to expand for more

What you need:

– A variety of small pumpkins
– Pillar and/or dinner candles
– Ribbon and lace to your liking
– A knife
– Hot glue gun

Instructions:
1) Pair up your candles and pumpkins. Cut a hole directly around the stem in relation to the thickness of your candle.
2) Place small dots of glue around the middle of the pumpkin and apply your ribbon or lace. Get creative! You can keep it simple with a single piece hugging your pumpkin, or layer on different textures. Or both!
3) Cut your candle down to the height you want it to be, but make sure its long enough so that it sits touching the bottom of your pumpkin, and place inside the cutout. Don’t be afraid of cutting each candle to a different height.
4) Light your candle and enjoy!