I want to become a society lady Rockin' a new rock?!

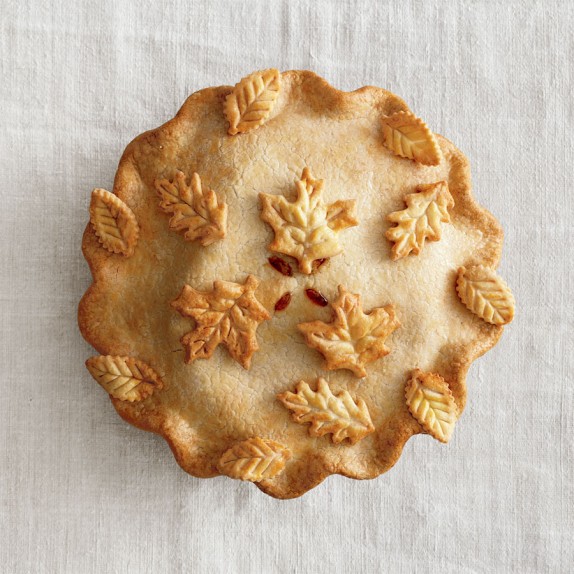
Lady Grey loves a little fancy added to her everyday. Take pie for example. Our fall feature from today shows a pretty little pie adorned with a leaves, like this one:

img5c
Click to expand for more

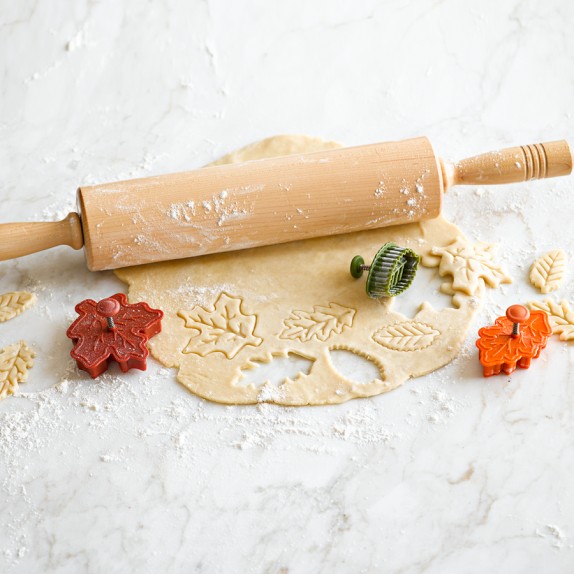
You might ask, “Who in the world has time for this pinnable yet totally unrealistic pretty?” Only Martha Stewart, I presume. But alas, we did a little sleuthing and as it turns out, Williams Sonoma offers a cheat way to bring the fancy into your holidays for the price of a few Starbucks lattes. Yep. Piecrust cutters. In leaf shapes. Thanksgiving pies will never be the same.

img24c

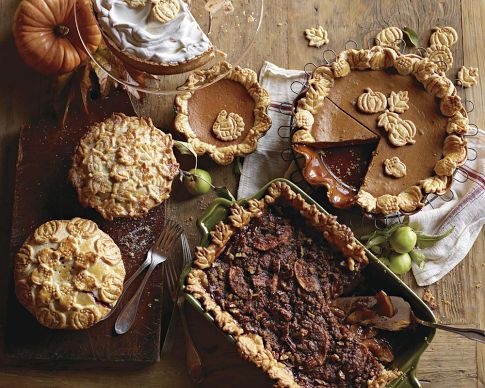
Your mother-in-law will be so impressed when your dessert spread looks like this. And then you can email me and say, “Lady Grey, thank you for your easy fancy idea.” And I’ll reply, “I know, right?” Except in a much more eloquent way.

7267b2cf15e9a5352013cb2e246e4875

Do not attempt this for your wedding. Unless you are handing off these molds to a baker. DO attempt for a shower, engagement party, holiday festivities or maybe a bake off. Yes, most definitely if you’re in a bake off. Certainly you’ll deserve a few extra slices for a job well done. Impressing and delighting with ease. That’s our motto. Or as we like to call it, “Easy-Fancy.”

(And you know that whole, homemade crust situation? Neither do I. Homemade pies with pre-made pie dough. Easy-fancy, ladies. Easy-fancy.)
We like
our sponsors

We think you will too.

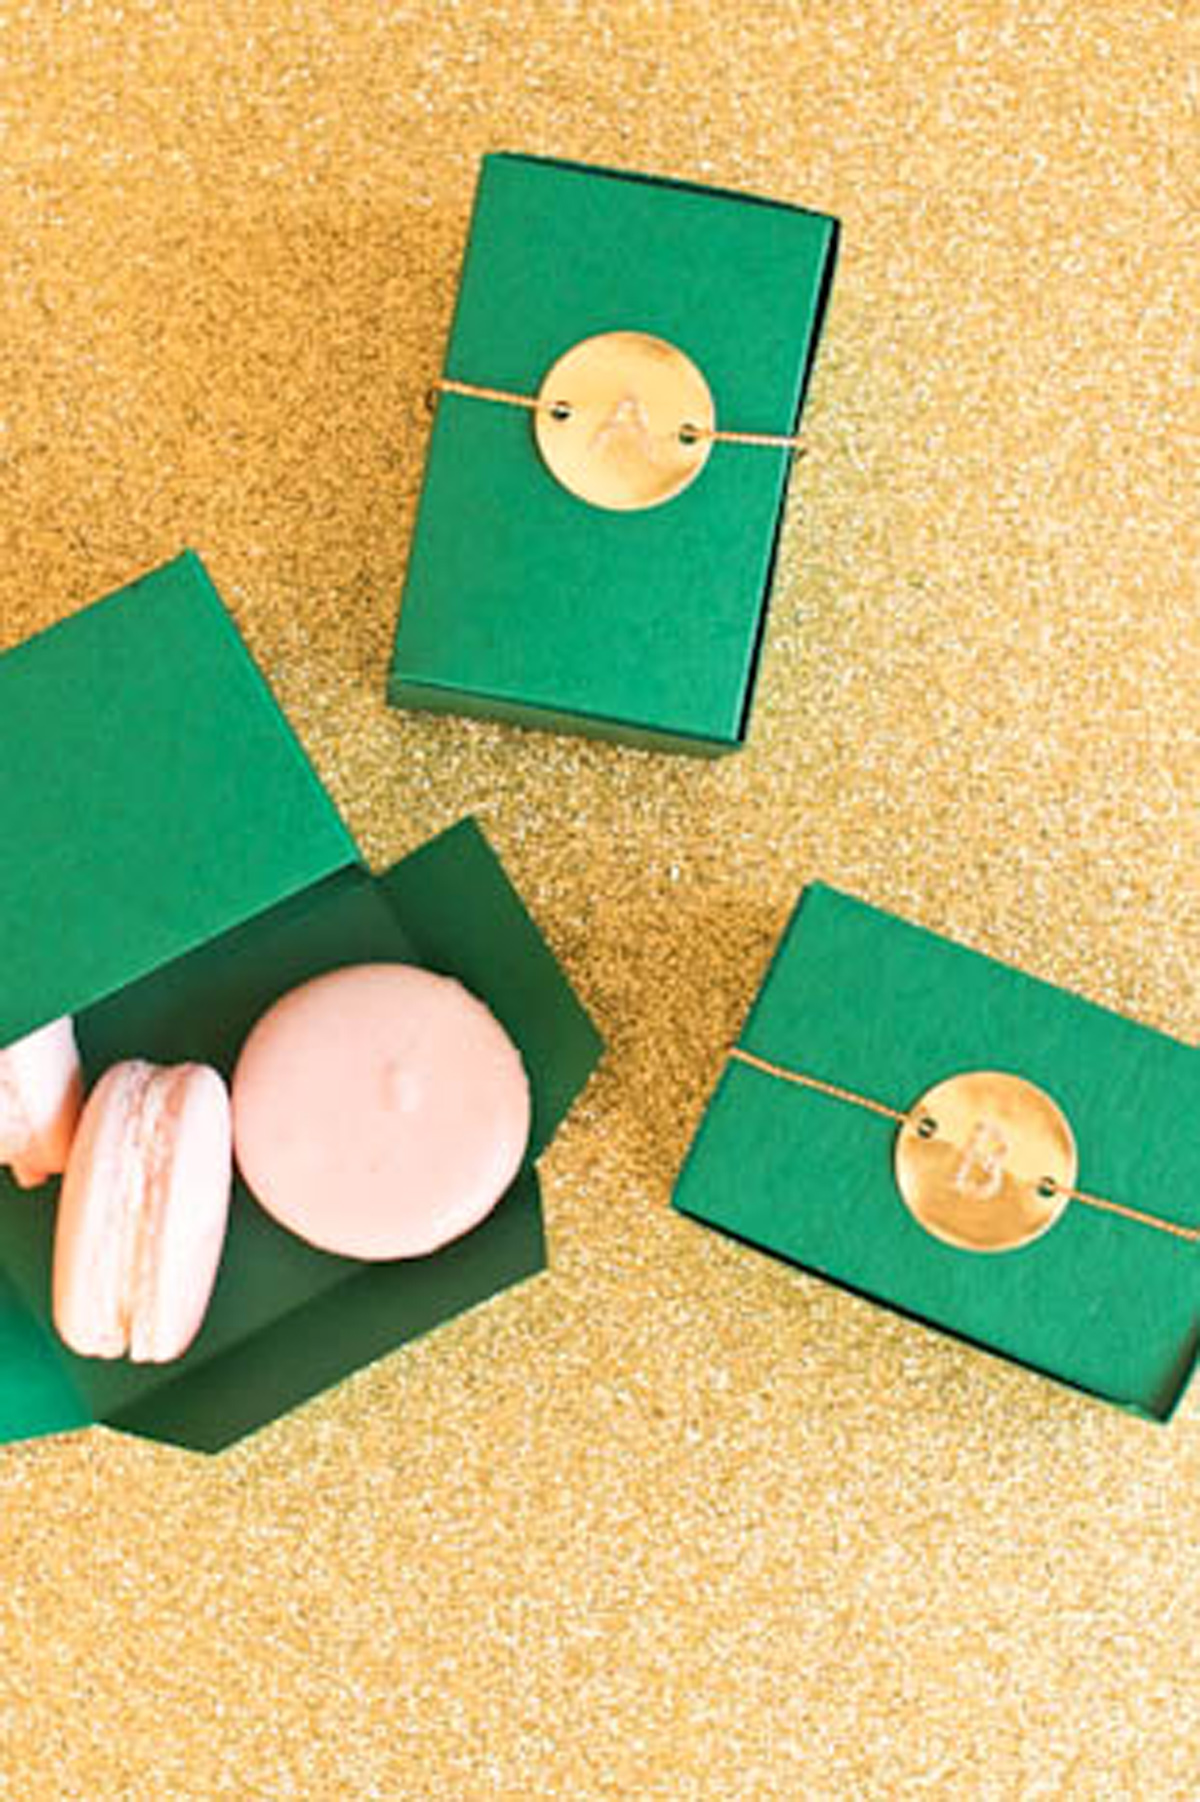
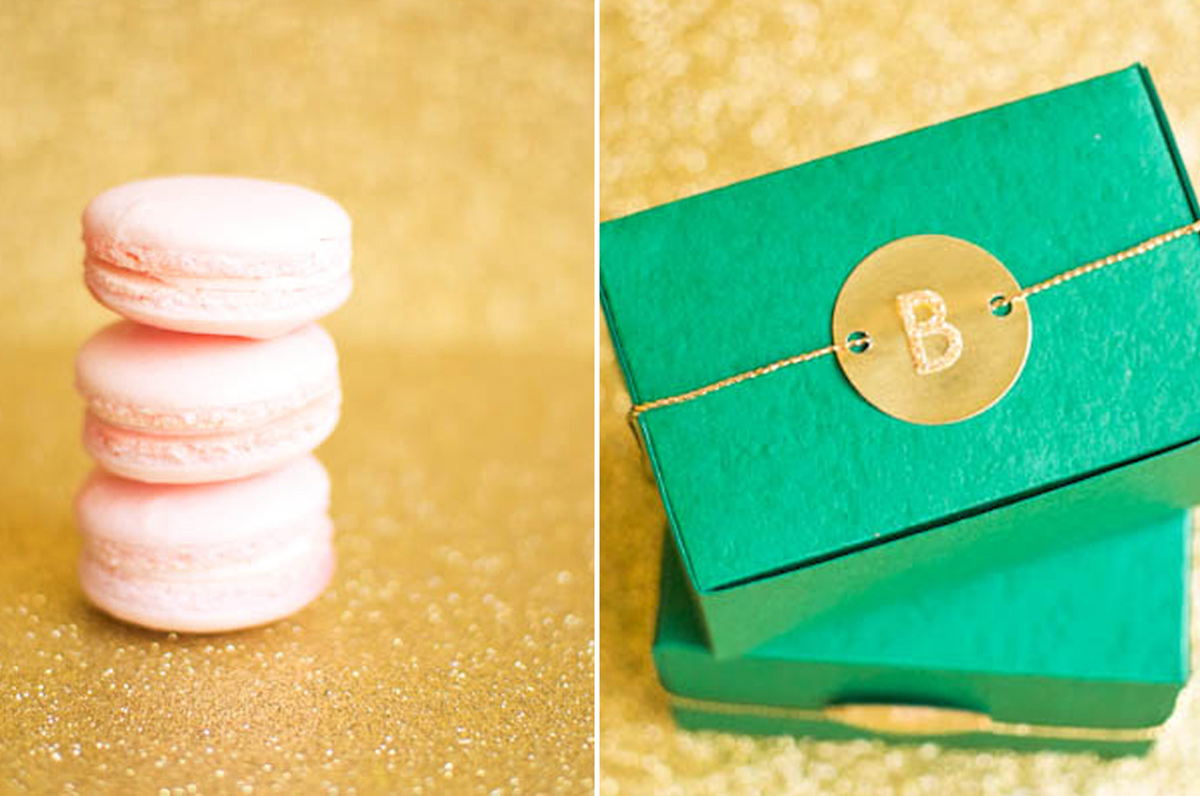
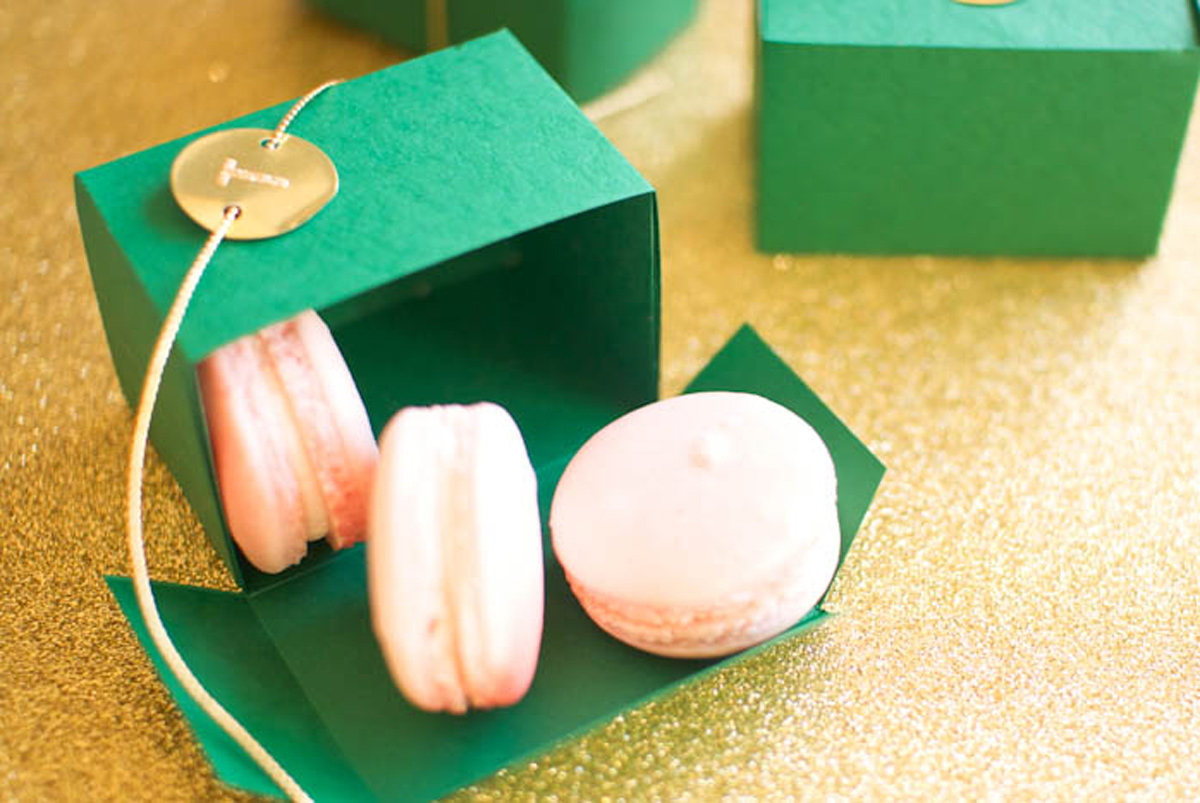
In honor of St. Patrick’s Day this weekend, we are sending you off with an emerald and gold DIY from Tulle Box Designs that’s so simple and easy to do, it’s totally our style. Below are the DIY steps for this simple and chic gift!

emerald_gold_diy_wedding_favor_1
Click to expand for more
emerald_gold_diy_wedding_favor_2

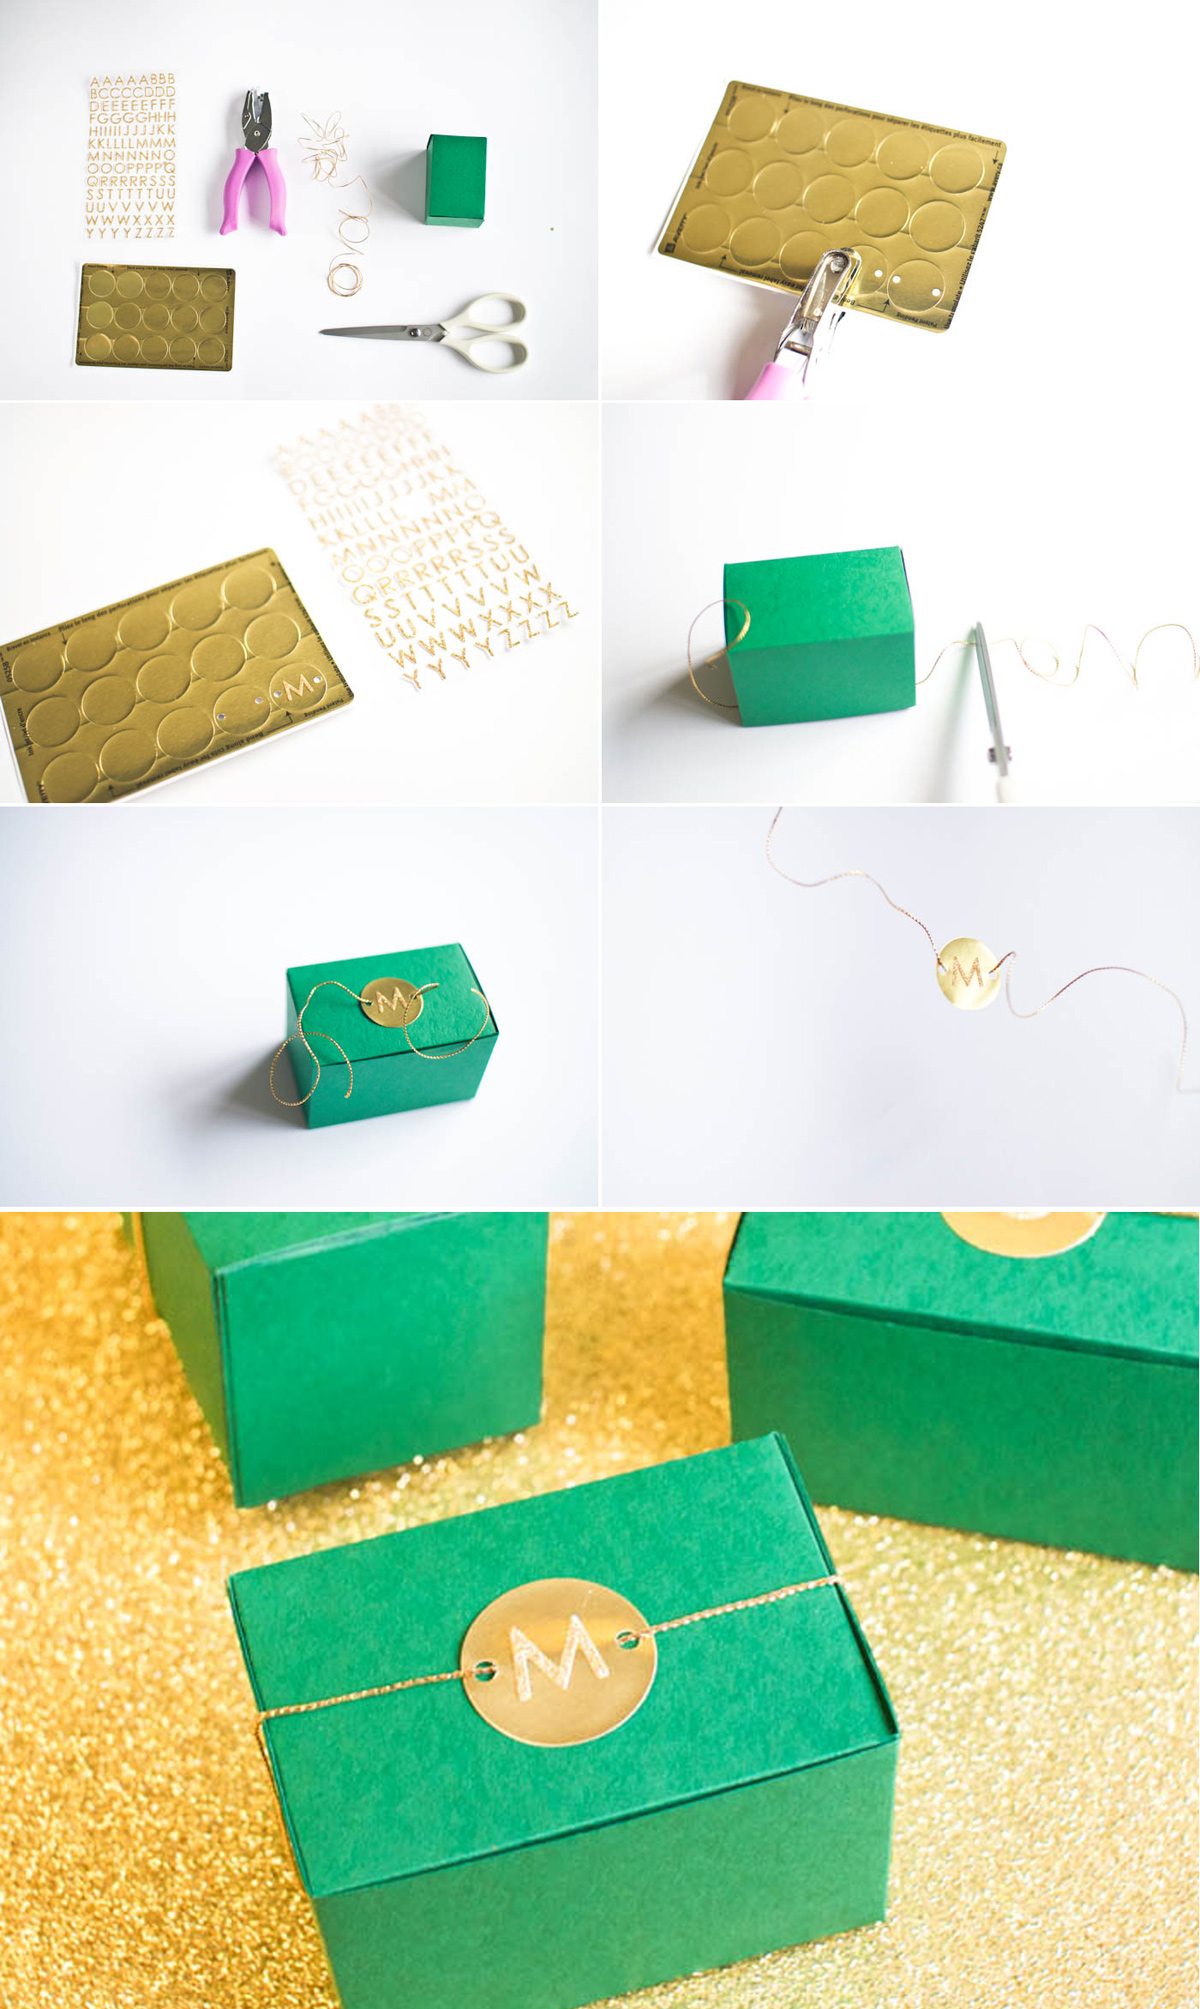
Materials:
gold alphabet stickers
1/8″ hole punch
gold mailing seals
gold cord
favour box
scissors

Step 1 – Punch 2 holes on a gold seal.
Step 2 –  Place an alphabet sticker on the seal.
Step 3 –  Cut a piece of cord long enough to wrap around the favour box, plus a little extra to tie a knot.
Step 4 – Thread cord through the gold seal.

emerald_gold_diy_wedding_favor_3
emerald_gold_diy_wedding_favor_4

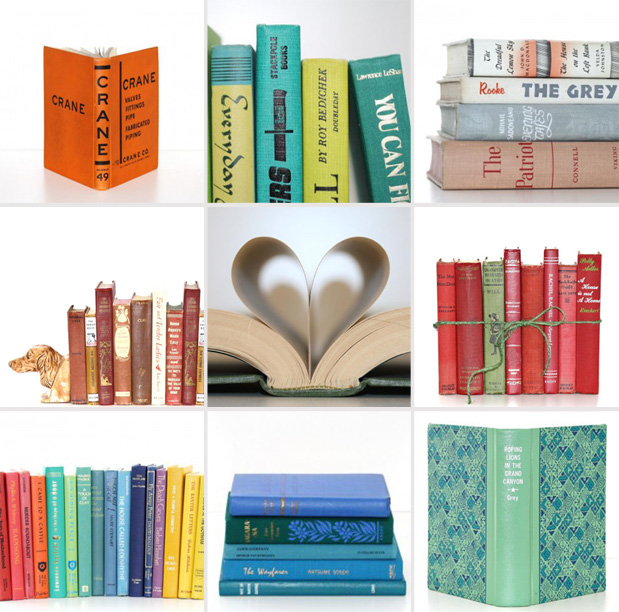
Have you gone shopping with Lady Grey yet? We’re working very hard to curate a wonderful section of artisans, designers, and shop owners who offer a variety of unique items to help make your wedding as unique as you! Today we wanted to feature one of our newest sponsors in the shop section, JaysWorld. Their shop is chock full of vintage books, which are always so fun to incorporate into your decor. They can be used for centerpieces, on buffet tables, or even as invitations! Here are some of our faves! Be sure to check them out if you are on the hunt for perfectly lovely vintage books!

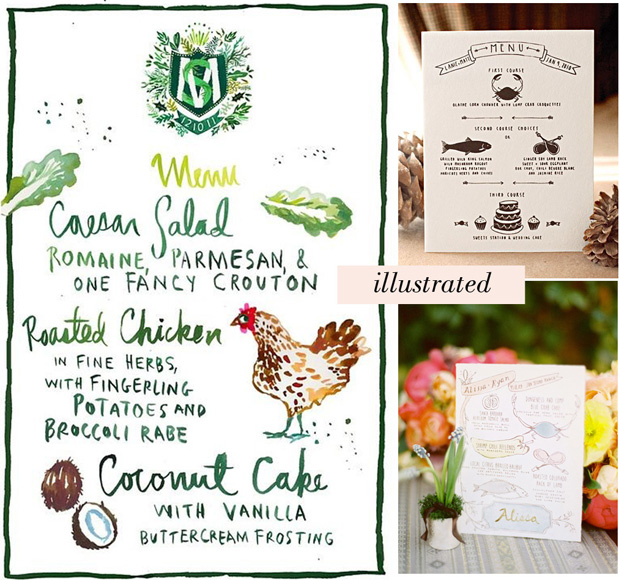
We’ve seen so many fun wedding menu ideas floating around lately, that we thought it would be fun to do a round up menu options for your stationery! Are you ready for crazy amounts of inspiration??? Be sure to check out our entire resources section below, with links to all sources!

First up are illustrated menus! What a fun way to liven up Caesar Salad!

Click to expand for more

One way to save on supplying individual menus is to opt for the display option. Below you’ll see ideas like using a roll of craft paper, chalkboards, mirrors, the bed of a truck, and even old crates. If you can find a really fun object to display your menu, it makes it that much more fun! Having a beach wedding? Try putting the menu on an old oar, or a surfboard. The sky is the limit when it comes to display menus!

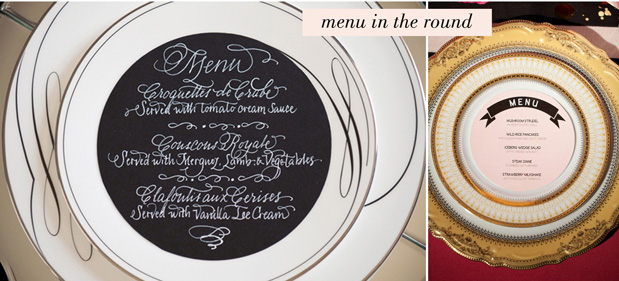
Round shaped menus offer an unexpected little quirk when guests are seated!

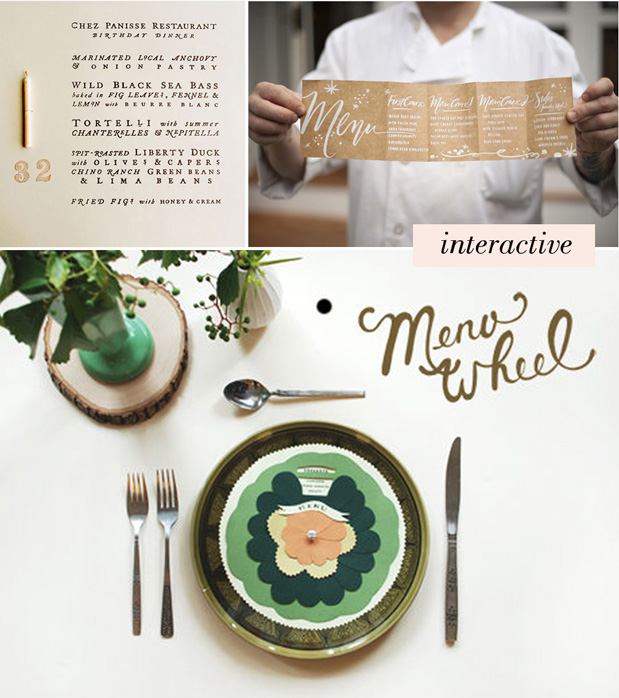
Interactive menus can range from including an item on the menu itself, asking guests to open each page, or devising a menu wheel! All really fun ways to get guests interacting!

If you are opting for individual at the table menus, there are so many incredible variations! Here are some of our favorite ideas that we love–colorful display with rock candy, custom clipboards, napkins, craft paper bags (with goodies or even silverware inside), and even a cutting board menu display for each table.

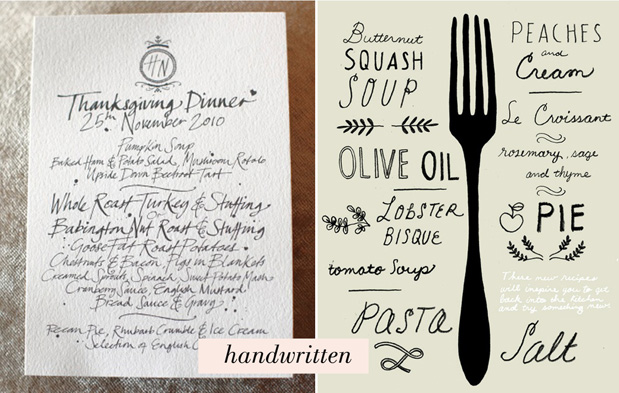
Handwritten menus are a way to add charm and a sense of familiarity to your meal. Guests will feel like they are dining at your home!

Resources:

Illustrated | Caesar Salad: Happy Menocal // Black and White: Stationery by Christine Schmidt of Yellow Owl Workshop and photo by Aaron Delesie, via MS Weddings // Watercolor: Style Me Pretty

Display | Kraft Paper roll: Follow Studio photographed by Lauren Michelle via Once Wed // Truck: shot by Lisa Lefkowitz on Elizabeth Anne Designs // Mirror: Image by Elizabeth Messina from Kiss the Groom // Chalkboard: Brides // Crates: Brides // Wood planks: photographed by Docuvitae via Style Me Pretty

Round | Black and White: Grey Likes Weddings // Pink: Southern Fried Paper

Interactive | Candle: Cynthia Warren Design // Fold out: design by Julie Song Ink, photography by Justin Marantz via Style Me Pretty // Menu Wheel: Rifle Design with DIY on Design Sponge

At the Table | Colorful: shot by Elizabeth Messina from Kiss the Groom for Rue Magazine Issue Five // Whale clipboard: Restaurant and Bar Design Awards // Napkin: Martha Stewart // Craft bag: designed by Good On Paper Design, photographed by Janae Shields, via Snippet and Ink // Cutting Board: Snippet and Ink

Handwritten | Thanksgiving dinner menu: Martha Stewart // Fork drawing: Chris Silas Neal

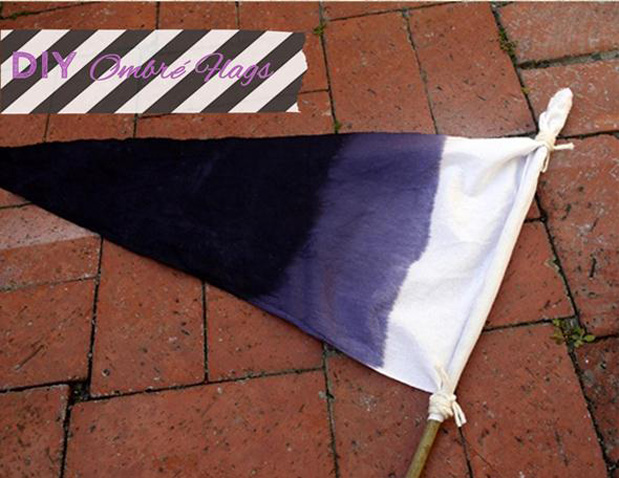
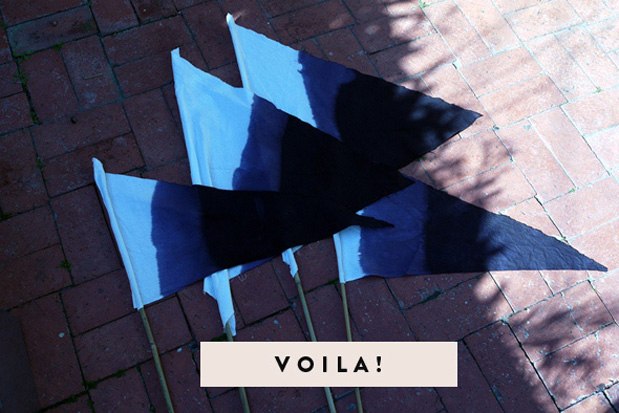
We LOOOOVE ombre! And because there is so much ombre inspiration going around, we thought we’d share with you this genius Ombre DIY from one of our Grey Collective members, Valley & Co. Events. (They also have tons of other DIY ideas on their blog, so it’s a must visit for all of you crafty ladies). This method works for any sort of ombre project you’ve had in mind–a table runner, napkins, etc. Of course, if you aren’t a DIYer, you can always call up Valley & Co. to have them handcraft your even FOR you instead. Love them and love this!

All in all, you’ll need: muslin fabric {washed and dried- don’t iron} | Rit Dye | scissors | pencil | yarn or twine | a bamboo pole (we found a bundle at Home Depot) | fabric glue

Click to expand for more

Step 1: lay out your fabric nice and flat {be sure it’s dry} and trace out your flags with a pencil. We have two flags sizes – the larger is approximately 24″ wide with 2 20″ angles and the second is 14″ wide with 2 24″ angles to make it pointier. Cut out the flags.

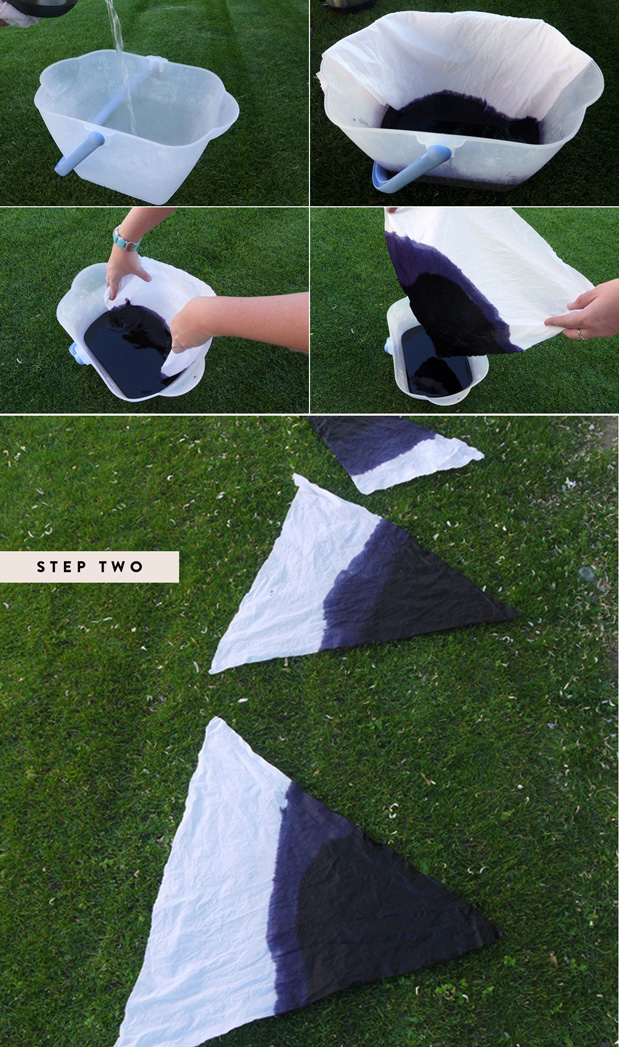
Step 2: DYE! Prepare your dye per the instructions and wet the fabric while your water is boiling for the dye. Place the water and dye in the bucket. Place one flag into the bucket, about 2/3 of the way down. Let sit for about 15 minutes. Carefully pull out the fabric until just the tip {or about 8″} is resting inside the mixture. Let that rest for another 15 minutes. What you’re doing here is wicking the dye and giving the tip that dark dark look. The center will be lighter and it will have a nice color gradient. remove the fabric and place out to dry on the grass. Friendly warning: do not hang these out to dry. The dye can drip and bleed and ruin the ombre effect! We spread them out on the grass and they dried evenly.

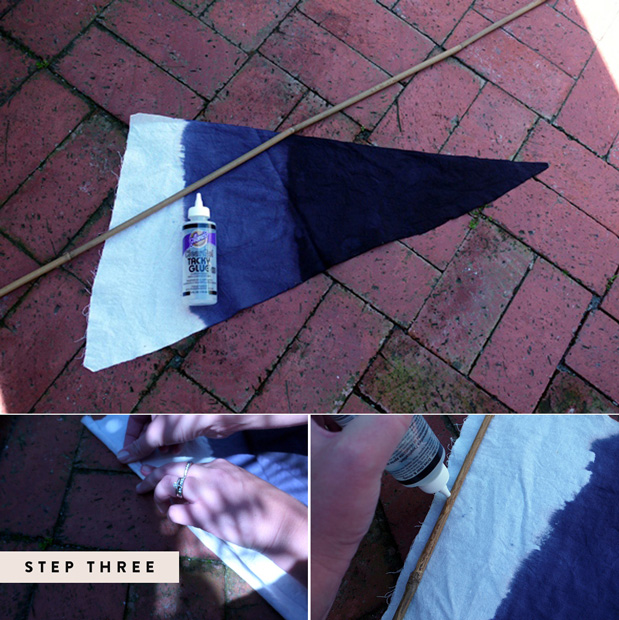
Step 3: Once your fabric is dry you can choose to iron it. Then lay it out on a flat surface – be ready with your bamboo spear, fabric glue and yarn. Place the bamboo atop your flag so that the top of the bamboo touches the top peak of the flag. Glue a thick layer of fabric glue down the bamboo and carefully roll the fabric over, pinching as you go. Be sure to really cinch the fabric in place so it rests nice and flush. After it’s done, embellish as you like!