As a stylist, my job is to take inspiration I find in beautiful objects–whether it’s from a pattern, unique lamp shape, color combination in a cocktail, or attitude in a pose and recreate an interpretation of those elements. I thought I’d share with you how that can be done for your own wedding. Here is a new little series called “Inspiration Becomes a Wedding” (that’s a working title–got another creative name we should call it?). We’re taking some great inspiration from items and images on Pinterest and turning them into wedding elements!

Image Credits
Top bundle | Pattern: Purl Soho // Cocktail: The Clever Carrot // Neon: work of Emily Mughannam of EM Design Interiors photographed by Helynn Ospina // Polka dot paper weight: Stripe & Field
Lower bundle| Bouquet: Jose Villa // Earrings: Mod Cloth // Polka dot envelopes: Roma Winkel // Bride: Martha Stewart Weddings
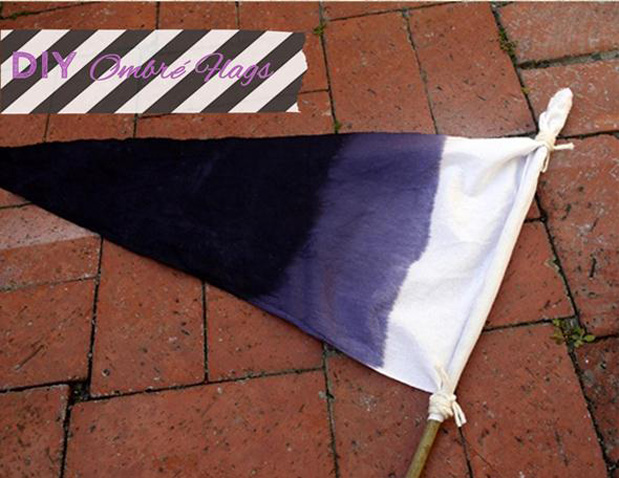
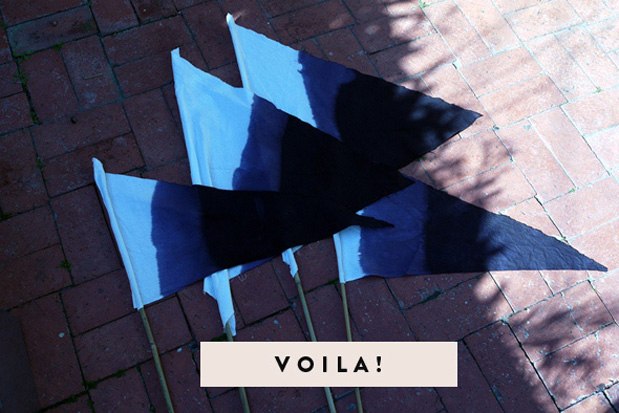
We LOOOOVE ombre! And because there is so much ombre inspiration going around, we thought we’d share with you this genius Ombre DIY from one of our Grey Collective members, Valley & Co. Events. (They also have tons of other DIY ideas on their blog, so it’s a must visit for all of you crafty ladies). This method works for any sort of ombre project you’ve had in mind–a table runner, napkins, etc. Of course, if you aren’t a DIYer, you can always call up Valley & Co. to have them handcraft your even FOR you instead. Love them and love this!
All in all, you’ll need: muslin fabric {washed and dried- don’t iron} | Rit Dye | scissors | pencil | yarn or twine | a bamboo pole (we found a bundle at Home Depot) | fabric glue
Step 1: lay out your fabric nice and flat {be sure it’s dry} and trace out your flags with a pencil. We have two flags sizes – the larger is approximately 24″ wide with 2 20″ angles and the second is 14″ wide with 2 24″ angles to make it pointier. Cut out the flags.

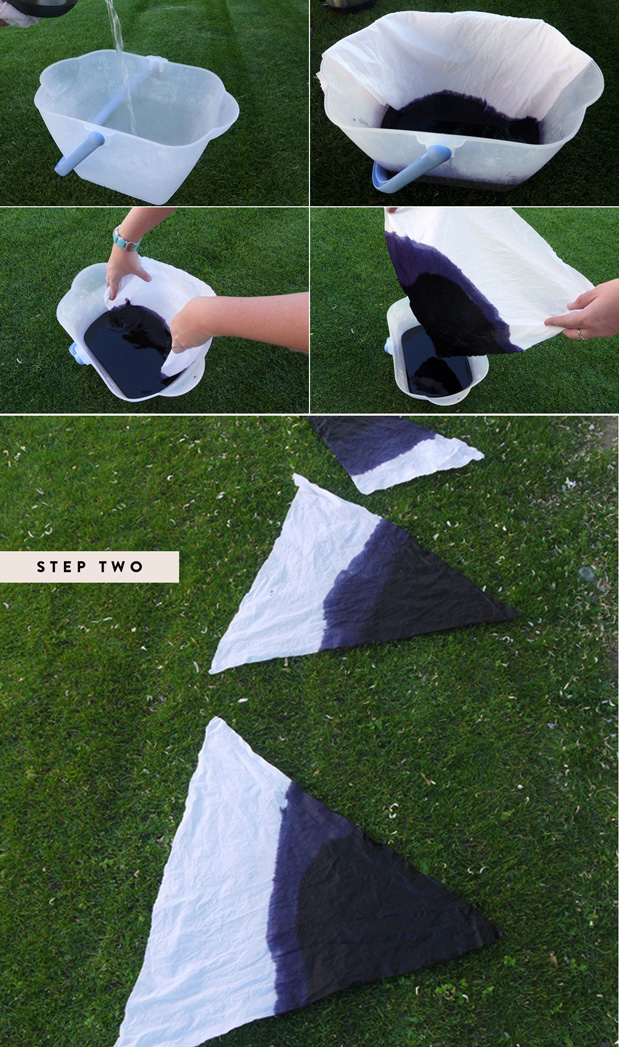
Step 2: DYE! Prepare your dye per the instructions and wet the fabric while your water is boiling for the dye. Place the water and dye in the bucket. Place one flag into the bucket, about 2/3 of the way down. Let sit for about 15 minutes. Carefully pull out the fabric until just the tip {or about 8″} is resting inside the mixture. Let that rest for another 15 minutes. What you’re doing here is wicking the dye and giving the tip that dark dark look. The center will be lighter and it will have a nice color gradient. remove the fabric and place out to dry on the grass. Friendly warning: do not hang these out to dry. The dye can drip and bleed and ruin the ombre effect! We spread them out on the grass and they dried evenly.
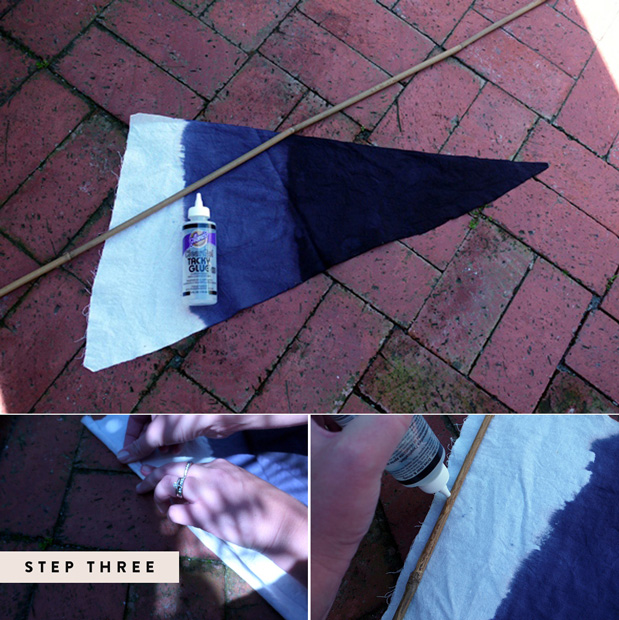
Step 3: Once your fabric is dry you can choose to iron it. Then lay it out on a flat surface – be ready with your bamboo spear, fabric glue and yarn. Place the bamboo atop your flag so that the top of the bamboo touches the top peak of the flag. Glue a thick layer of fabric glue down the bamboo and carefully roll the fabric over, pinching as you go. Be sure to really cinch the fabric in place so it rests nice and flush. After it’s done, embellish as you like!
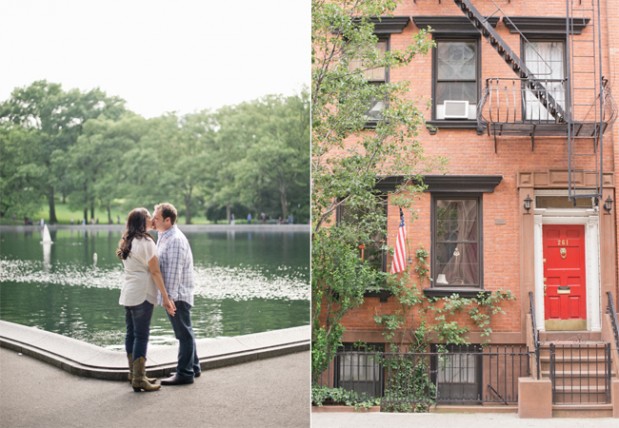
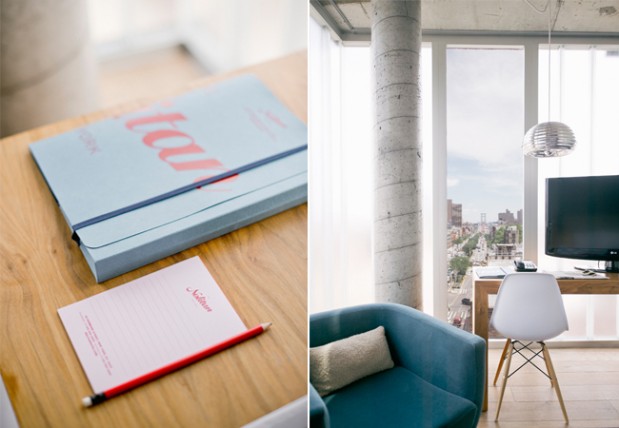
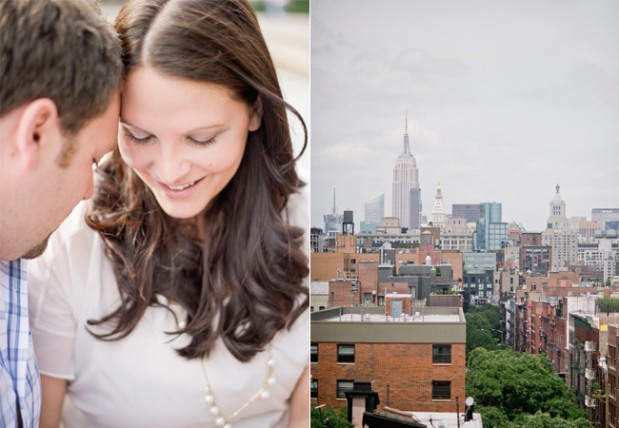
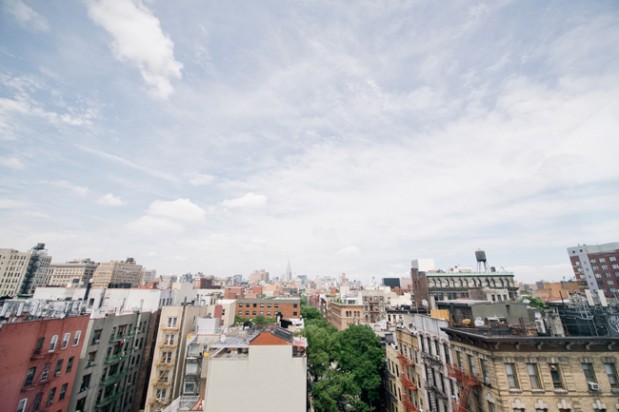
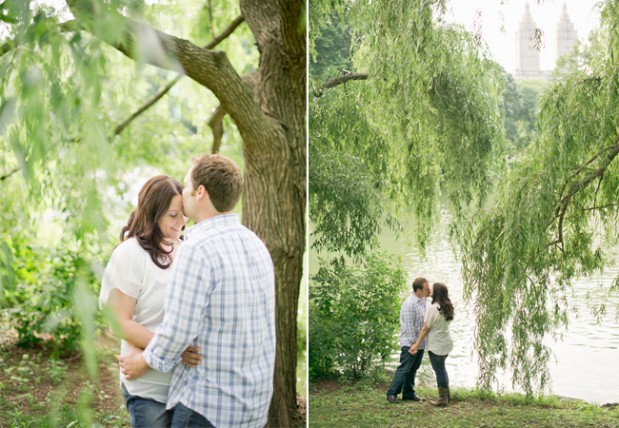
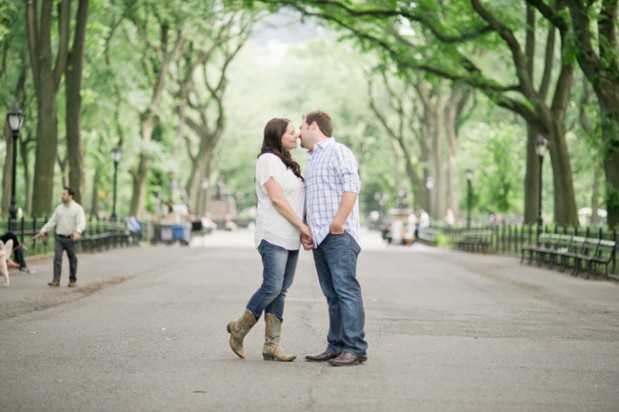
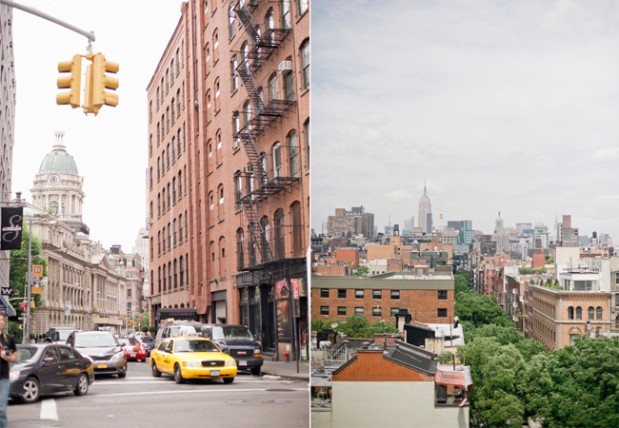
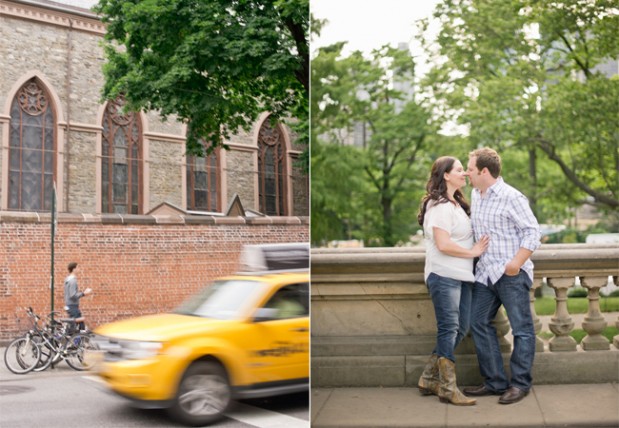
Manhattan–it’s on my personal list of the most romantic cities I’ve ever visited. The hustle and bustle of the city, combined with all of the beauty–whether from architecture or Central Park, makes it the perfect place to soak in your love–especially if it’s for your engagement session. Jeremy Harwell (LOVE HIM) photographed this gorgeous NYC session that takes us on a mini tour of New York, starting in the couple’s apartment and heading out to the park, all while proving just what I mean. Romantic.
Oh. And someone get me that red door. Are you serious? Too good.
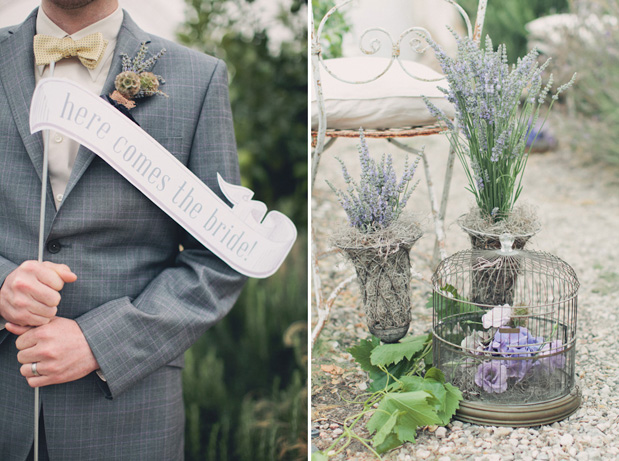
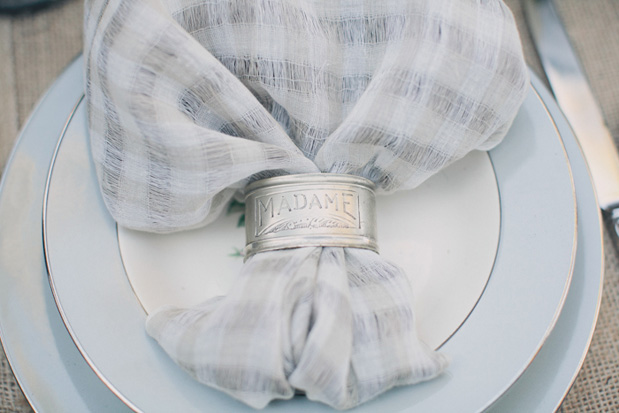
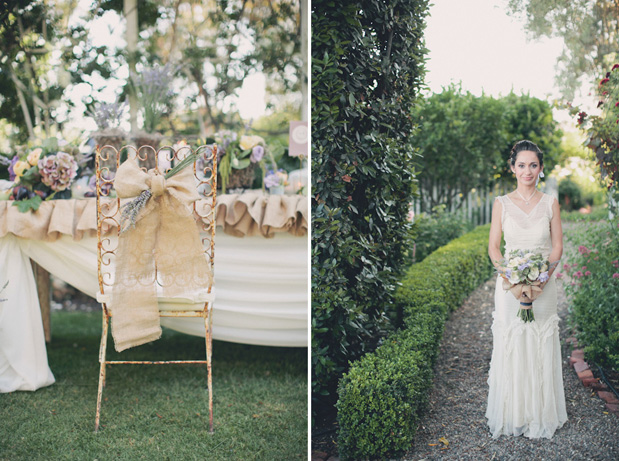
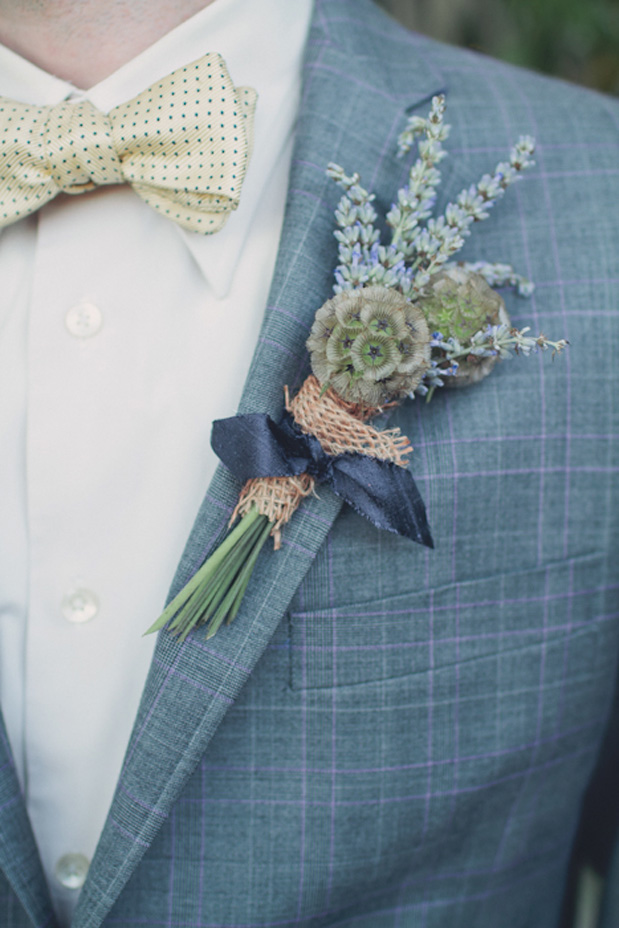
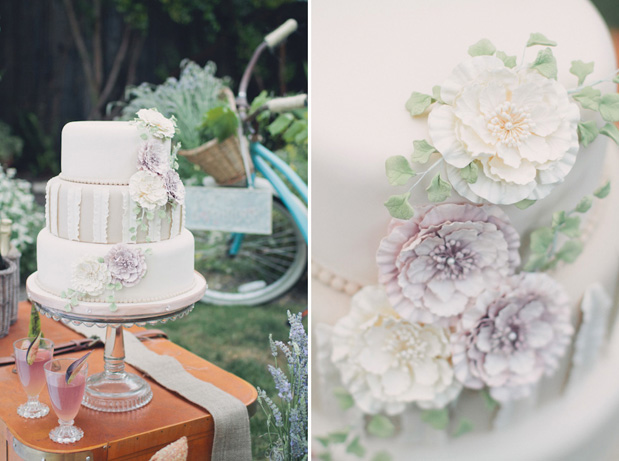
One of our Grey Collective members, Corrine of Fleurs collaborated with Mark Padgett Wedding Design to create a gorgeous French inspired garden wedding shoot that we are beyond excited to share with you today! Mark and Corrine have both been to Paris together twice, and you can’t help but notice the influence their travels had on this shoot. All of the touches of lavender, antique furniture, and soft colors make us feel like we’re visiting Provence! We especially love the sweet “Here Comes the Bride” hand held sign by Necia Odening at Umbrella Tree. Beautiful designs put together by Mark Padgett Wedding Design and all shot by Jake and Necia of The Collective Photographers.
Happy weekend, darlings!
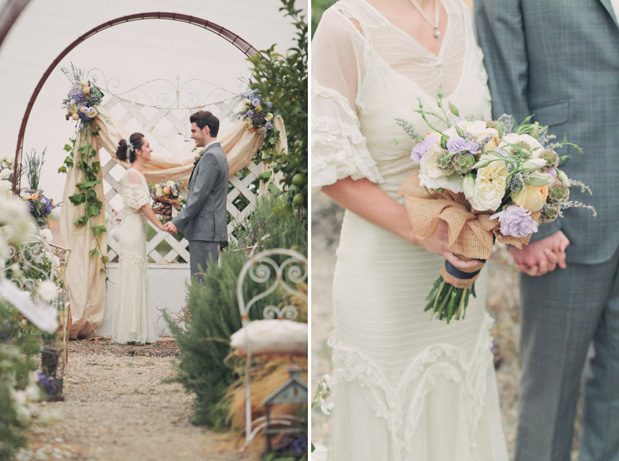
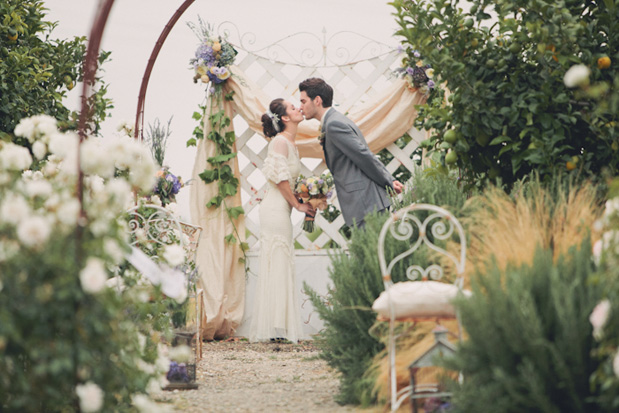
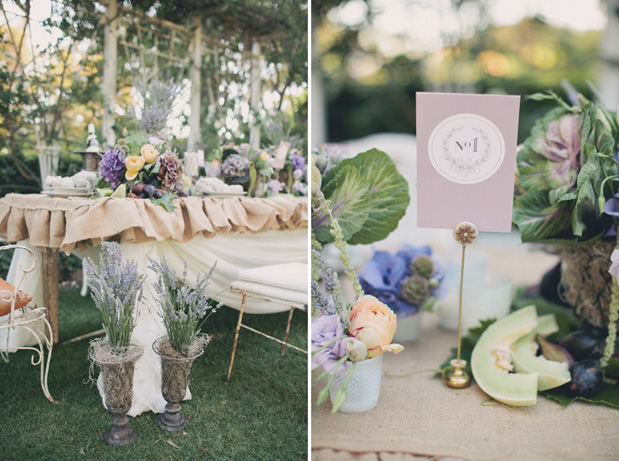
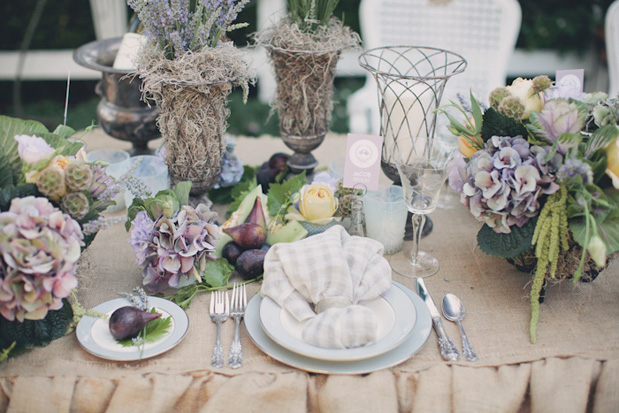
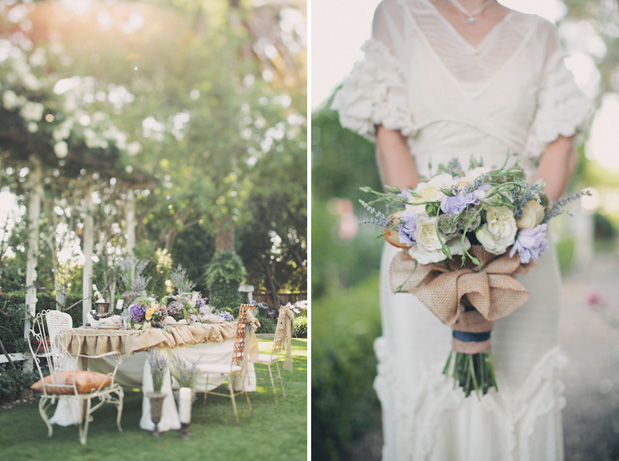
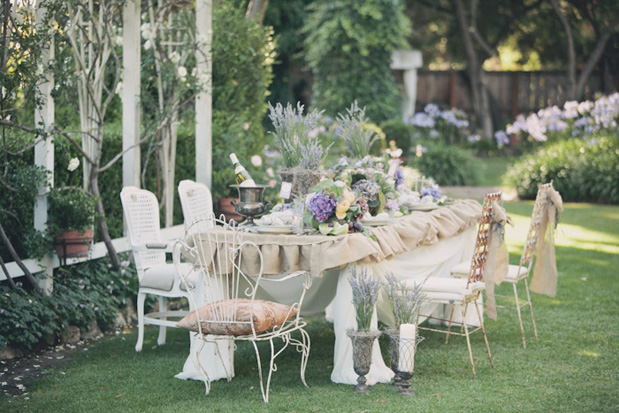
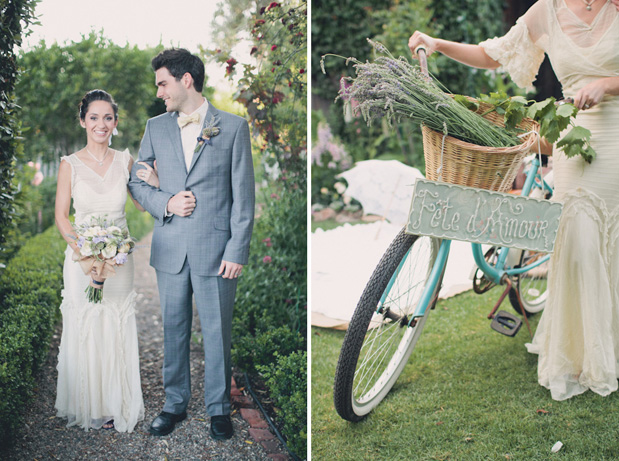
Resources and Vendors | Wedding Design & Groom’s styling: Mark Padgett Wedding Design // Photography: Jake + Necia, The Collective Photographers // Flowery: Fleurs // Venue: Dana Powers House & Garden // Vintage Rentals and Furniture: Embellish Vintage Rentals // Hair and Makeup: Queens Bees // Place Cards, Table number and signs: Necia Odening at Umbrella Tree // Bride’s Gown and Jewelry: Jennifer with Something Blue // Wedding Cake: The Cakery // Bridal Headpiece: LoBoheme // Models: Christine and Garrett Nelson
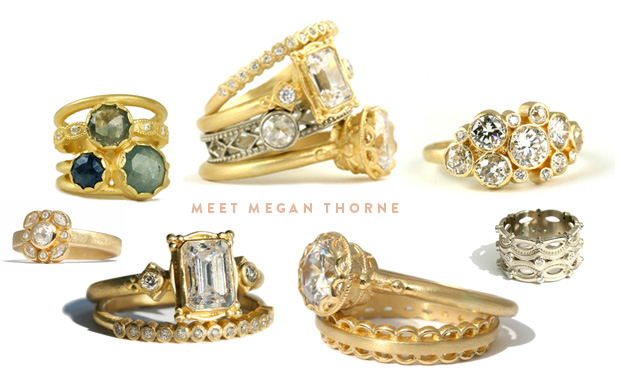
Ohhhhh my gosh! We were just recently introduced to Megan Thorne’s designs and we felt the utter necessity to share with you. If you’ve already got a ring on your finger, then completely ignore what we’re about to show you. But if you are in the “researching-for-the-future” phase, then take a look at these little ditties! If you are on the hunt for something incredibly unique and different, then Megan Thorne’s site is quite the treasure trove! Some of our faves:
